Hola Pablo y Cristina,
gracias por vuestro interés en el curso. Efectivamente, los códigos que se proporcionan en este curso pueden ejecutarse de muchas formas y desde cualquier sistema operativo, en local y en la nube. En local, puedes ejecutarlo desde la terminal o línea de comandos, utilizando IDEs de programación como RStudio o VS Code, con Jupyter notebooks, etc. Y en la nube, puedes ejecutarlo con Google Colab, por ejemplo.
Para ejecutar los códigos es imprescindible tener acceso a una versión actualizada de los intérpretes de R y Python, y a las bibliotecas de funciones que se especifican a lo largo de los notebooks. Como sabéis, tanto las versiones de R y Python como las de las bibliotecas asociadas van cambiando, porque se sigue añadiendo funcionalidad y arreglando errores, y existen dependencias cruzadas entre estas versiones.
Todas estas opciones hacen que, en la práctica, sea inviable para nosotros daros soporte para ejecutar estos códigos en local, porque, como os he indicado, dependería de cada usuario: su sistema operativo, su IDE de programación, su versión de R/python y de bibliotecas, etc. etc. Es por esto que solo podemos daros soporte a errores con las ejecuciones basadas en los cuadernos de código sobre Google Colab. Ahí sabemos que el entorno de programación es el mismo para todos los usuarios, y también las versiones de R, python y de las bibliotecas (porque se están tomando de una carpeta compartida de Google Drive).
En cualquier caso, si podemos daros algunas recomendaciones si queréis hacer las ejecuciones en local. Primero, elegir un IDE de ejecución potente, mis favoritos son RStudio (para códigos en R) y VS Code (para python) -- pero cada programador tiene tus preferencias, podríamos abrir un hilo sobre esto --. Segundo, instalar la última versión de R y actualizar sus paquetes básicos, en caso de que no lo estén. Tercero, instalar todas las bibliotecas que necesitamos para la ejecución de los cuadernos, utilizando el asistente de instalación de paquetes del IDE, o tecleando los comandos nosotros mismos desde la terminal. En la sección 3.1 tenéis una caja sombreada en la que se indica de forma orientativa cómo podría hacerse desde la línea de comandos.
# 1 - Instalamos la última versión de R
!apt-get update
!apt-get install r-base
# 2 - Abrimos una terminal de R tecleando `R` (Intro) e instalamos las bibliotecas de R necesarias para que se ejecuten los análisis bioinformáticos de este módulo.
install.packages("BiocManager")
install.packages(c("scales", "pheatmap", "DT", "factoextra", "BiocManager"))
BiocManager::install(c ("NOISeq", "ComplexHeatmap", "TCGAbiolinks", "limma"))
BiocManager::install(c("clusterProfiler", "org.Hs.eg.db", "DOSE", "enrichplot"))
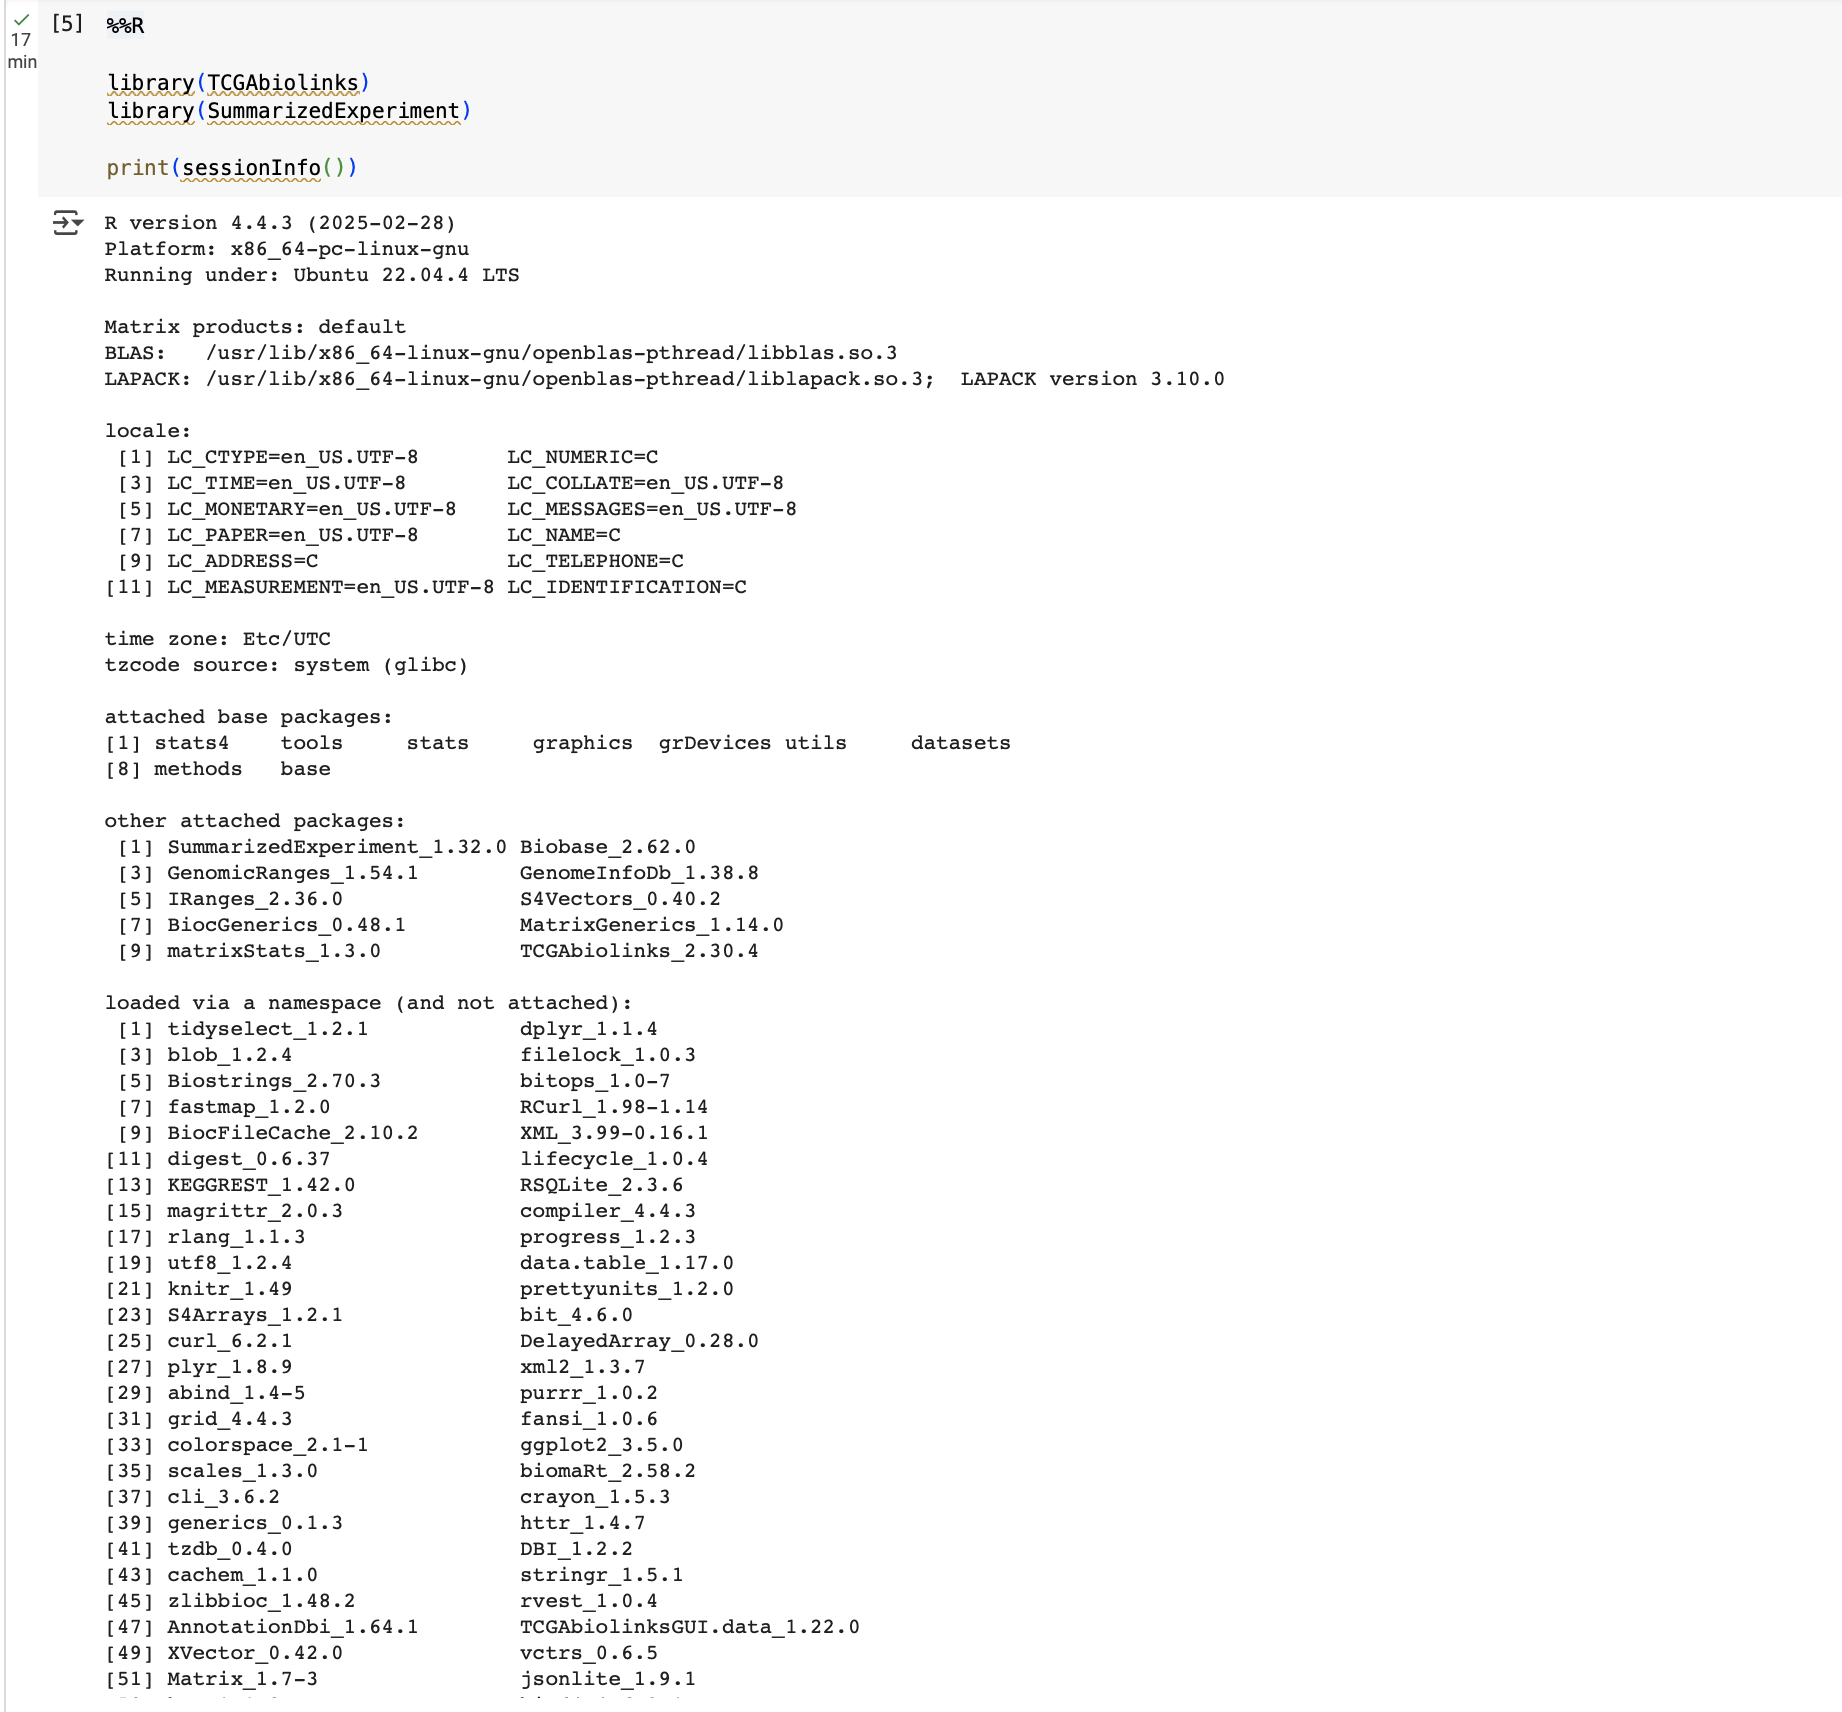
Después de ejecutar estos comandos, ya no sería necesario compartir ninguna carpeta del google Drive, porque tenéis las bibliotecas necesarias instaladas en local, en vuestra máquina. Deberíais entonces poder ir directamente al paso 6 de las instrucciones de instalación, para cargar algunas bibliotecas y ver si está todo bien. Si obtuviérais un error del tipo "Error in library (...): there is no package called '...'," significa que hay algún paquete que no hemos instalado, deberíais instalar sólo ese paquete con los comandos:
#Si es un paquete de R se instala con:
install.packages("NombreDelPaquete")
#Si es un paquete de Bioconductor se instala con:
BiocManager::install(c ("NombreDelPaquete"))
Espero que estos consejos os sean de utilidad,
Happy Coding!
--
Hello Pablo and Cristina,
Thank you for your interest in the course. Indeed, the codes provided in this course can be executed in many ways and from any operating system, both locally and in the cloud. Locally, you can run them from the terminal or command line, using programming IDEs such as RStudio or VS Code, with Jupyter notebooks, etc. In the cloud, you can run them using Google Colab, for example.
To execute the codes, it is essential to have access to an updated version of the R and Python interpreters, as well as the function libraries specified throughout the notebooks. As you know, both R and Python versions, as well as the associated libraries, are constantly evolving, as new functionalities are added and bugs are fixed, and there are cross-dependencies between these versions.
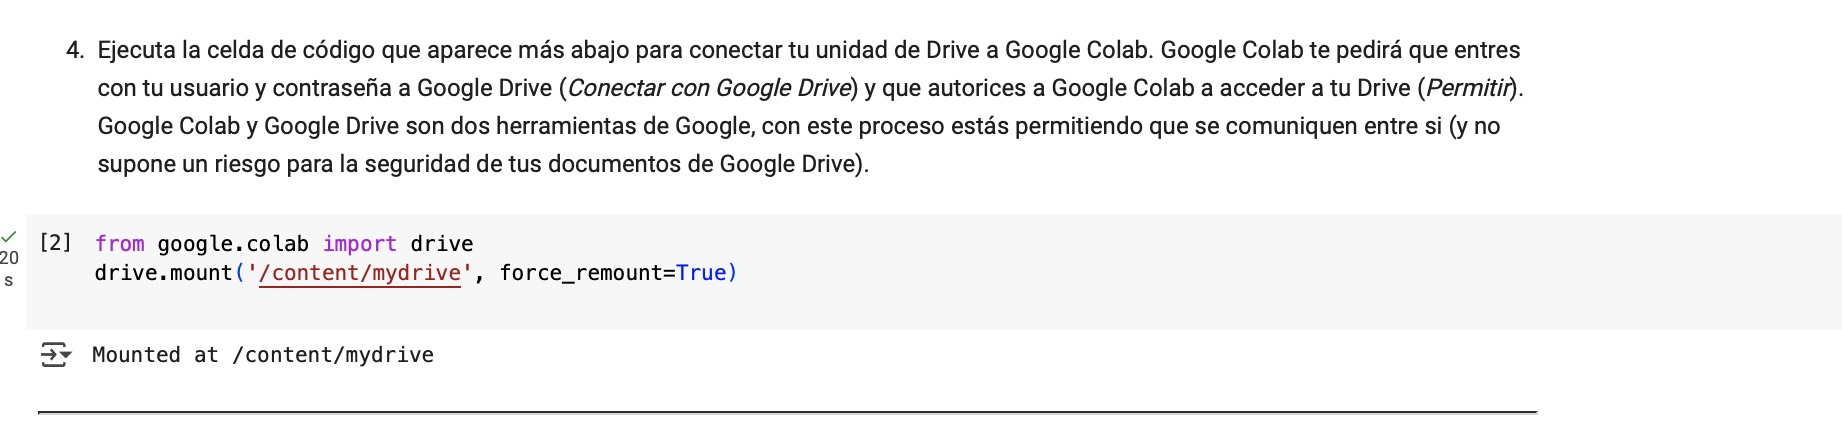
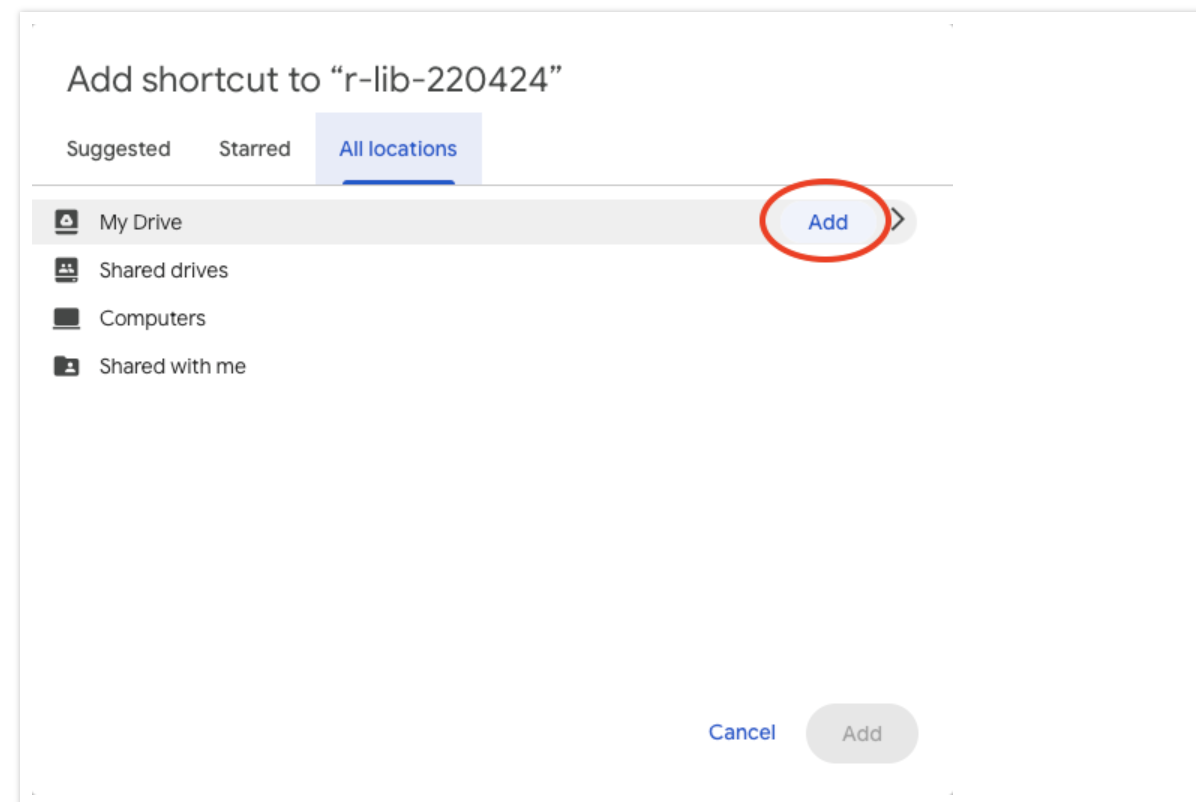
All these options make it practically unfeasible for us to provide support for running these codes locally because, as I mentioned, it depends on each user: their operating system, their programming IDE, their version of R/Python and libraries, etc. This is why we can only provide support for errors when executing the code notebooks on Google Colab. There, we know that the programming environment is the same for all users, as well as the versions of R, Python, and the libraries (since they are taken from a shared Google Drive folder).
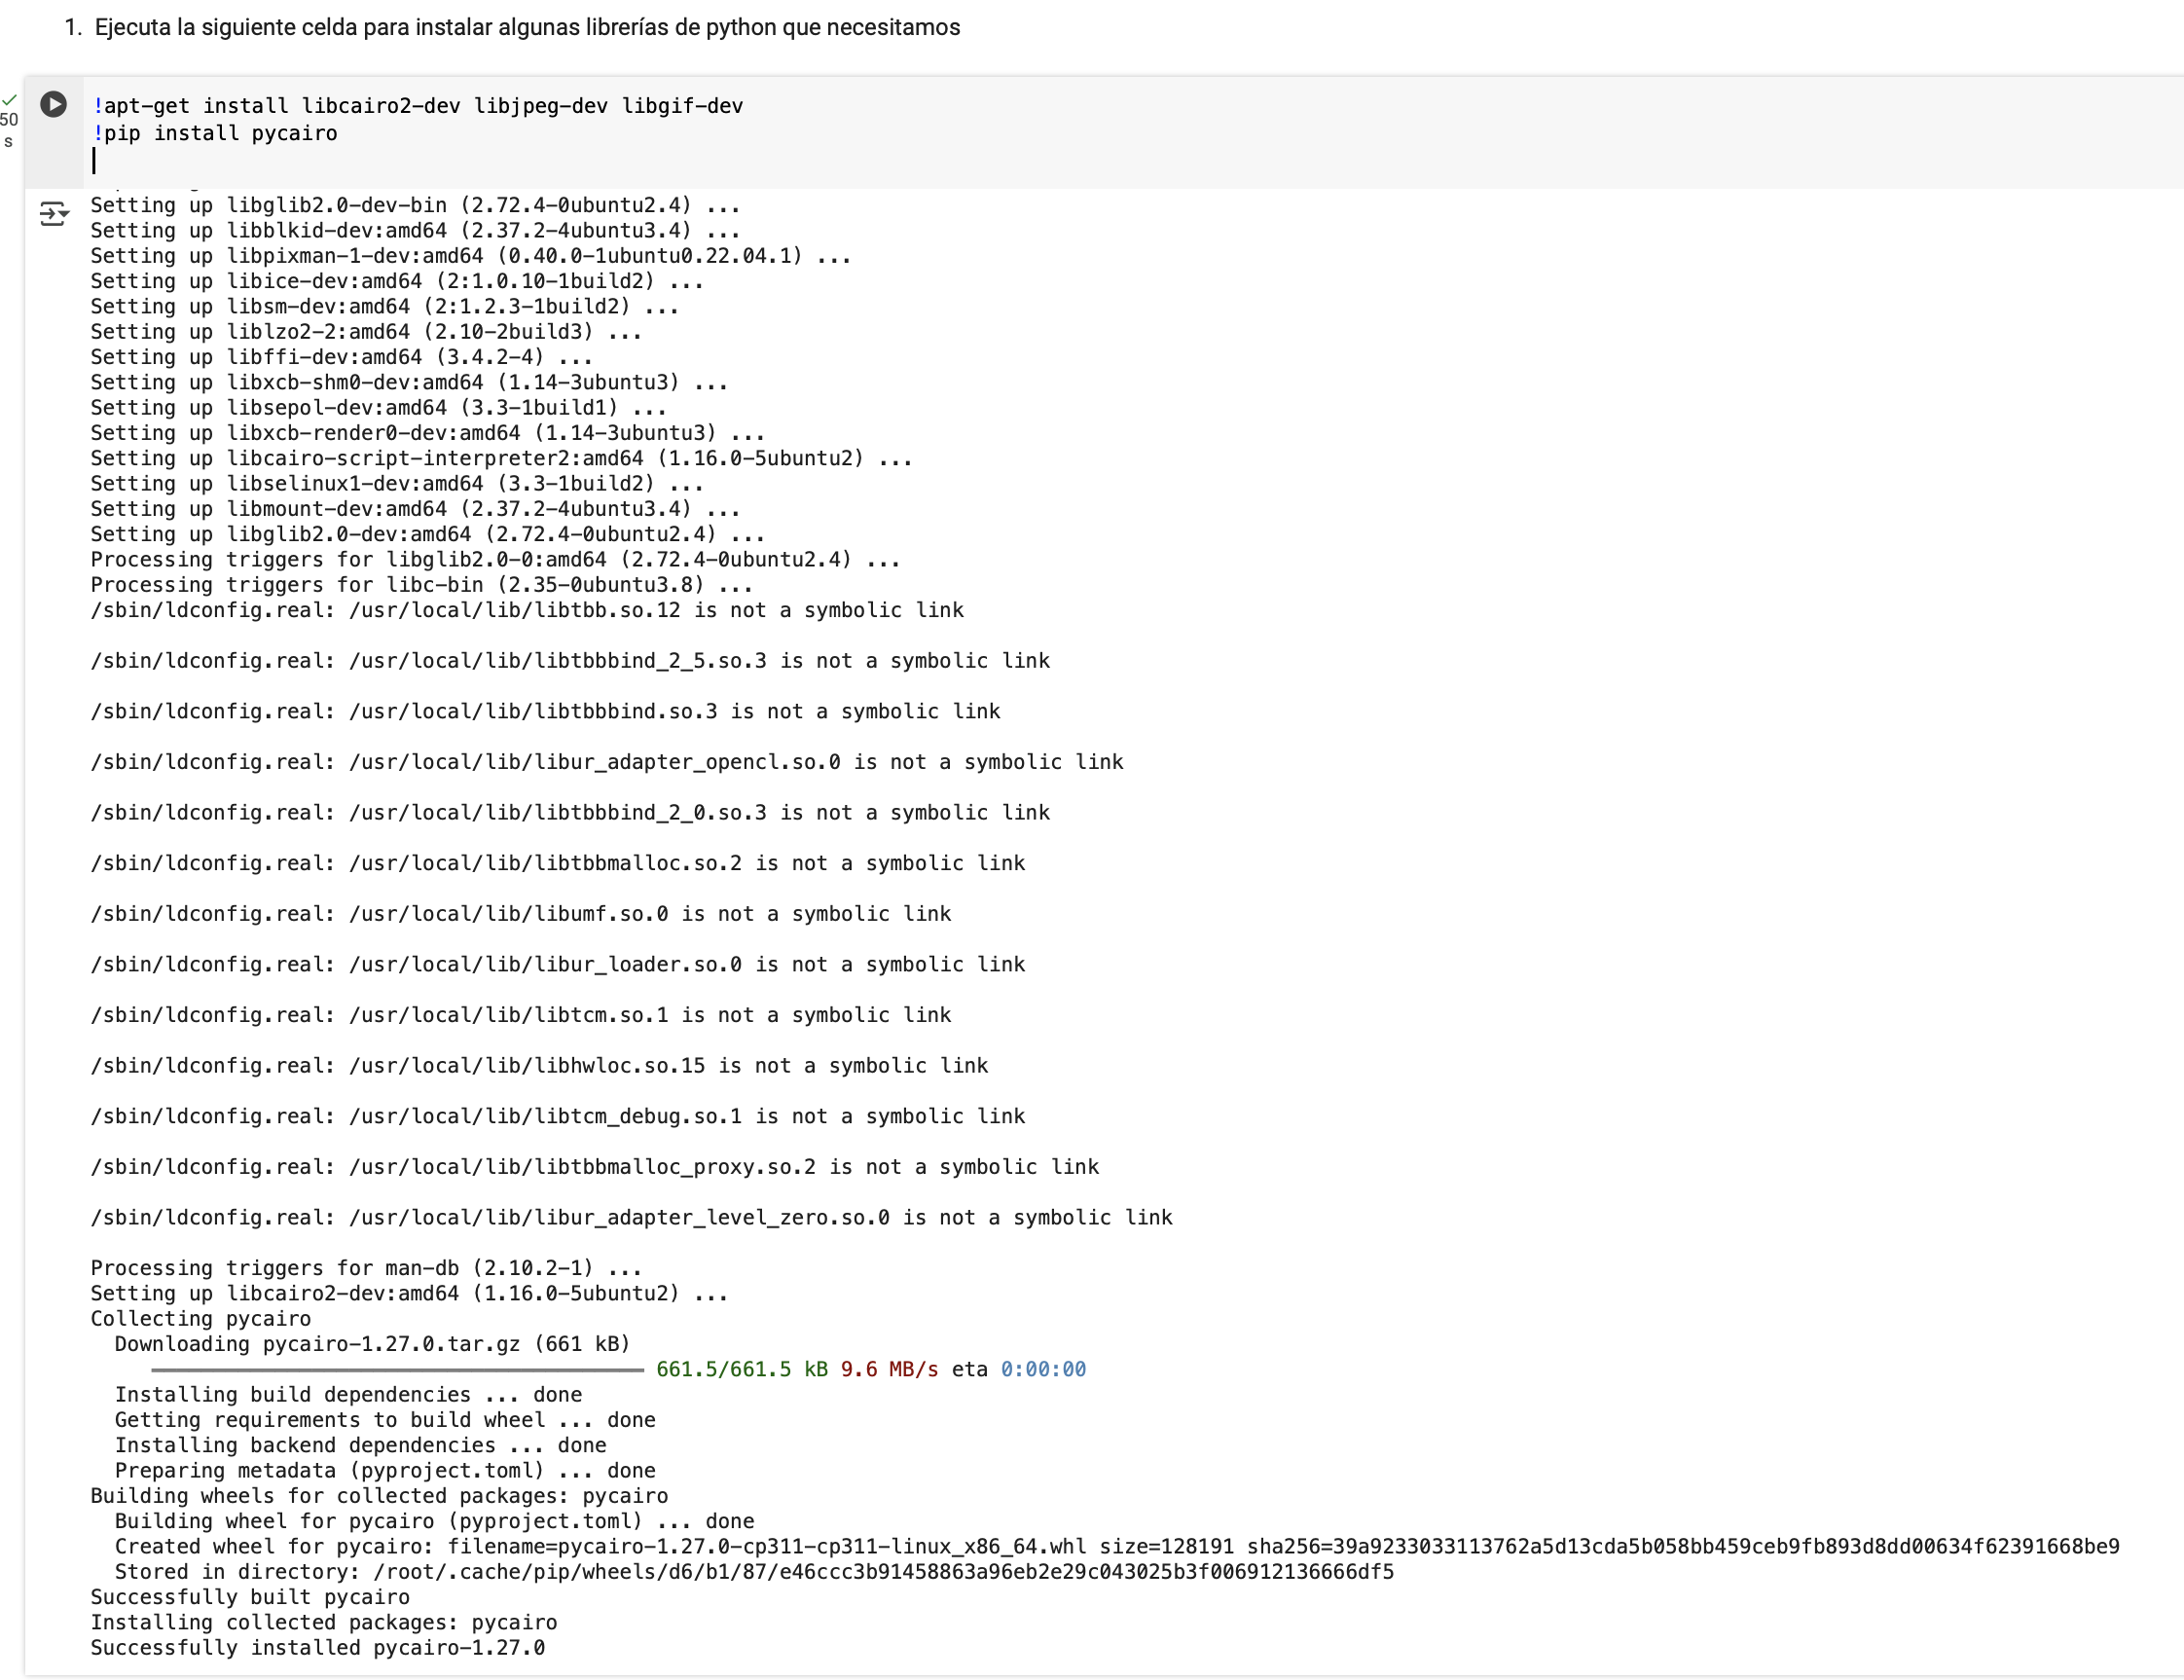
In any case, we can give you some recommendations if you want to run the code locally. First, choose a powerful execution IDE—my favorites are RStudio (for R code) and VS Code (for Python), but every programmer has their preferences, so we could open a discussion about this. Second, install the latest version of R and update its basic packages if they are not already updated. Third, install all the libraries needed to run the notebooks, either using the IDE’s package installation assistant or by typing the commands manually in the terminal. In section 3.1, you will find a shaded box with an example of how this can be done from the command line.
```r
# 1 - Install the latest version of R
!apt-get update
!apt-get install r-base
# 2 - Open an R terminal by typing `R` (Enter) and install the necessary R libraries to execute the bioinformatics analyses in this module.
install.packages("BiocManager")
install.packages(c("scales", "pheatmap", "DT", "factoextra", "BiocManager"))
BiocManager::install(c("NOISeq", "ComplexHeatmap", "TCGAbiolinks", "limma"))
BiocManager::install(c("clusterProfiler", "org.Hs.eg.db", "DOSE", "enrichplot"))
```
After running these commands, there would be no need to share any Google Drive folder, as you will have all the necessary libraries installed locally on your machine. You should then be able to go directly to step 6 of the installation instructions, where you load some libraries to check that everything is working correctly.
If you encounter an error such as `"Error in library (...): there is no package called '...'"`, it means that there is a missing package. You should install only that package using the following commands:
```r
# If it is an R package, install it with:
install.packages("PackageName")
# If it is a Bioconductor package, install it with:
BiocManager::install(c("PackageName"))
```
I hope these tips are helpful.
Happy Coding!
---